Advanced Styling
In the previous two chapters of this tutorial, you have learned how to write a document in Typst and how to change its formatting. The report you wrote throughout the last two chapters got a straight A and your supervisor wants to base a conference paper on it! The report will of course have to comply with the conference's style guide. Let's see how we can achieve that.
Before we start, let's create a team, invite your supervisor and add them to the team. You can do this by going back to the app dashboard with the back icon in the top left corner of the editor. Then, choose the plus icon in the left toolbar and create a team. Finally, click on the new team and go to its settings by clicking 'manage team' next to the team name. Now you can invite your supervisor by email.
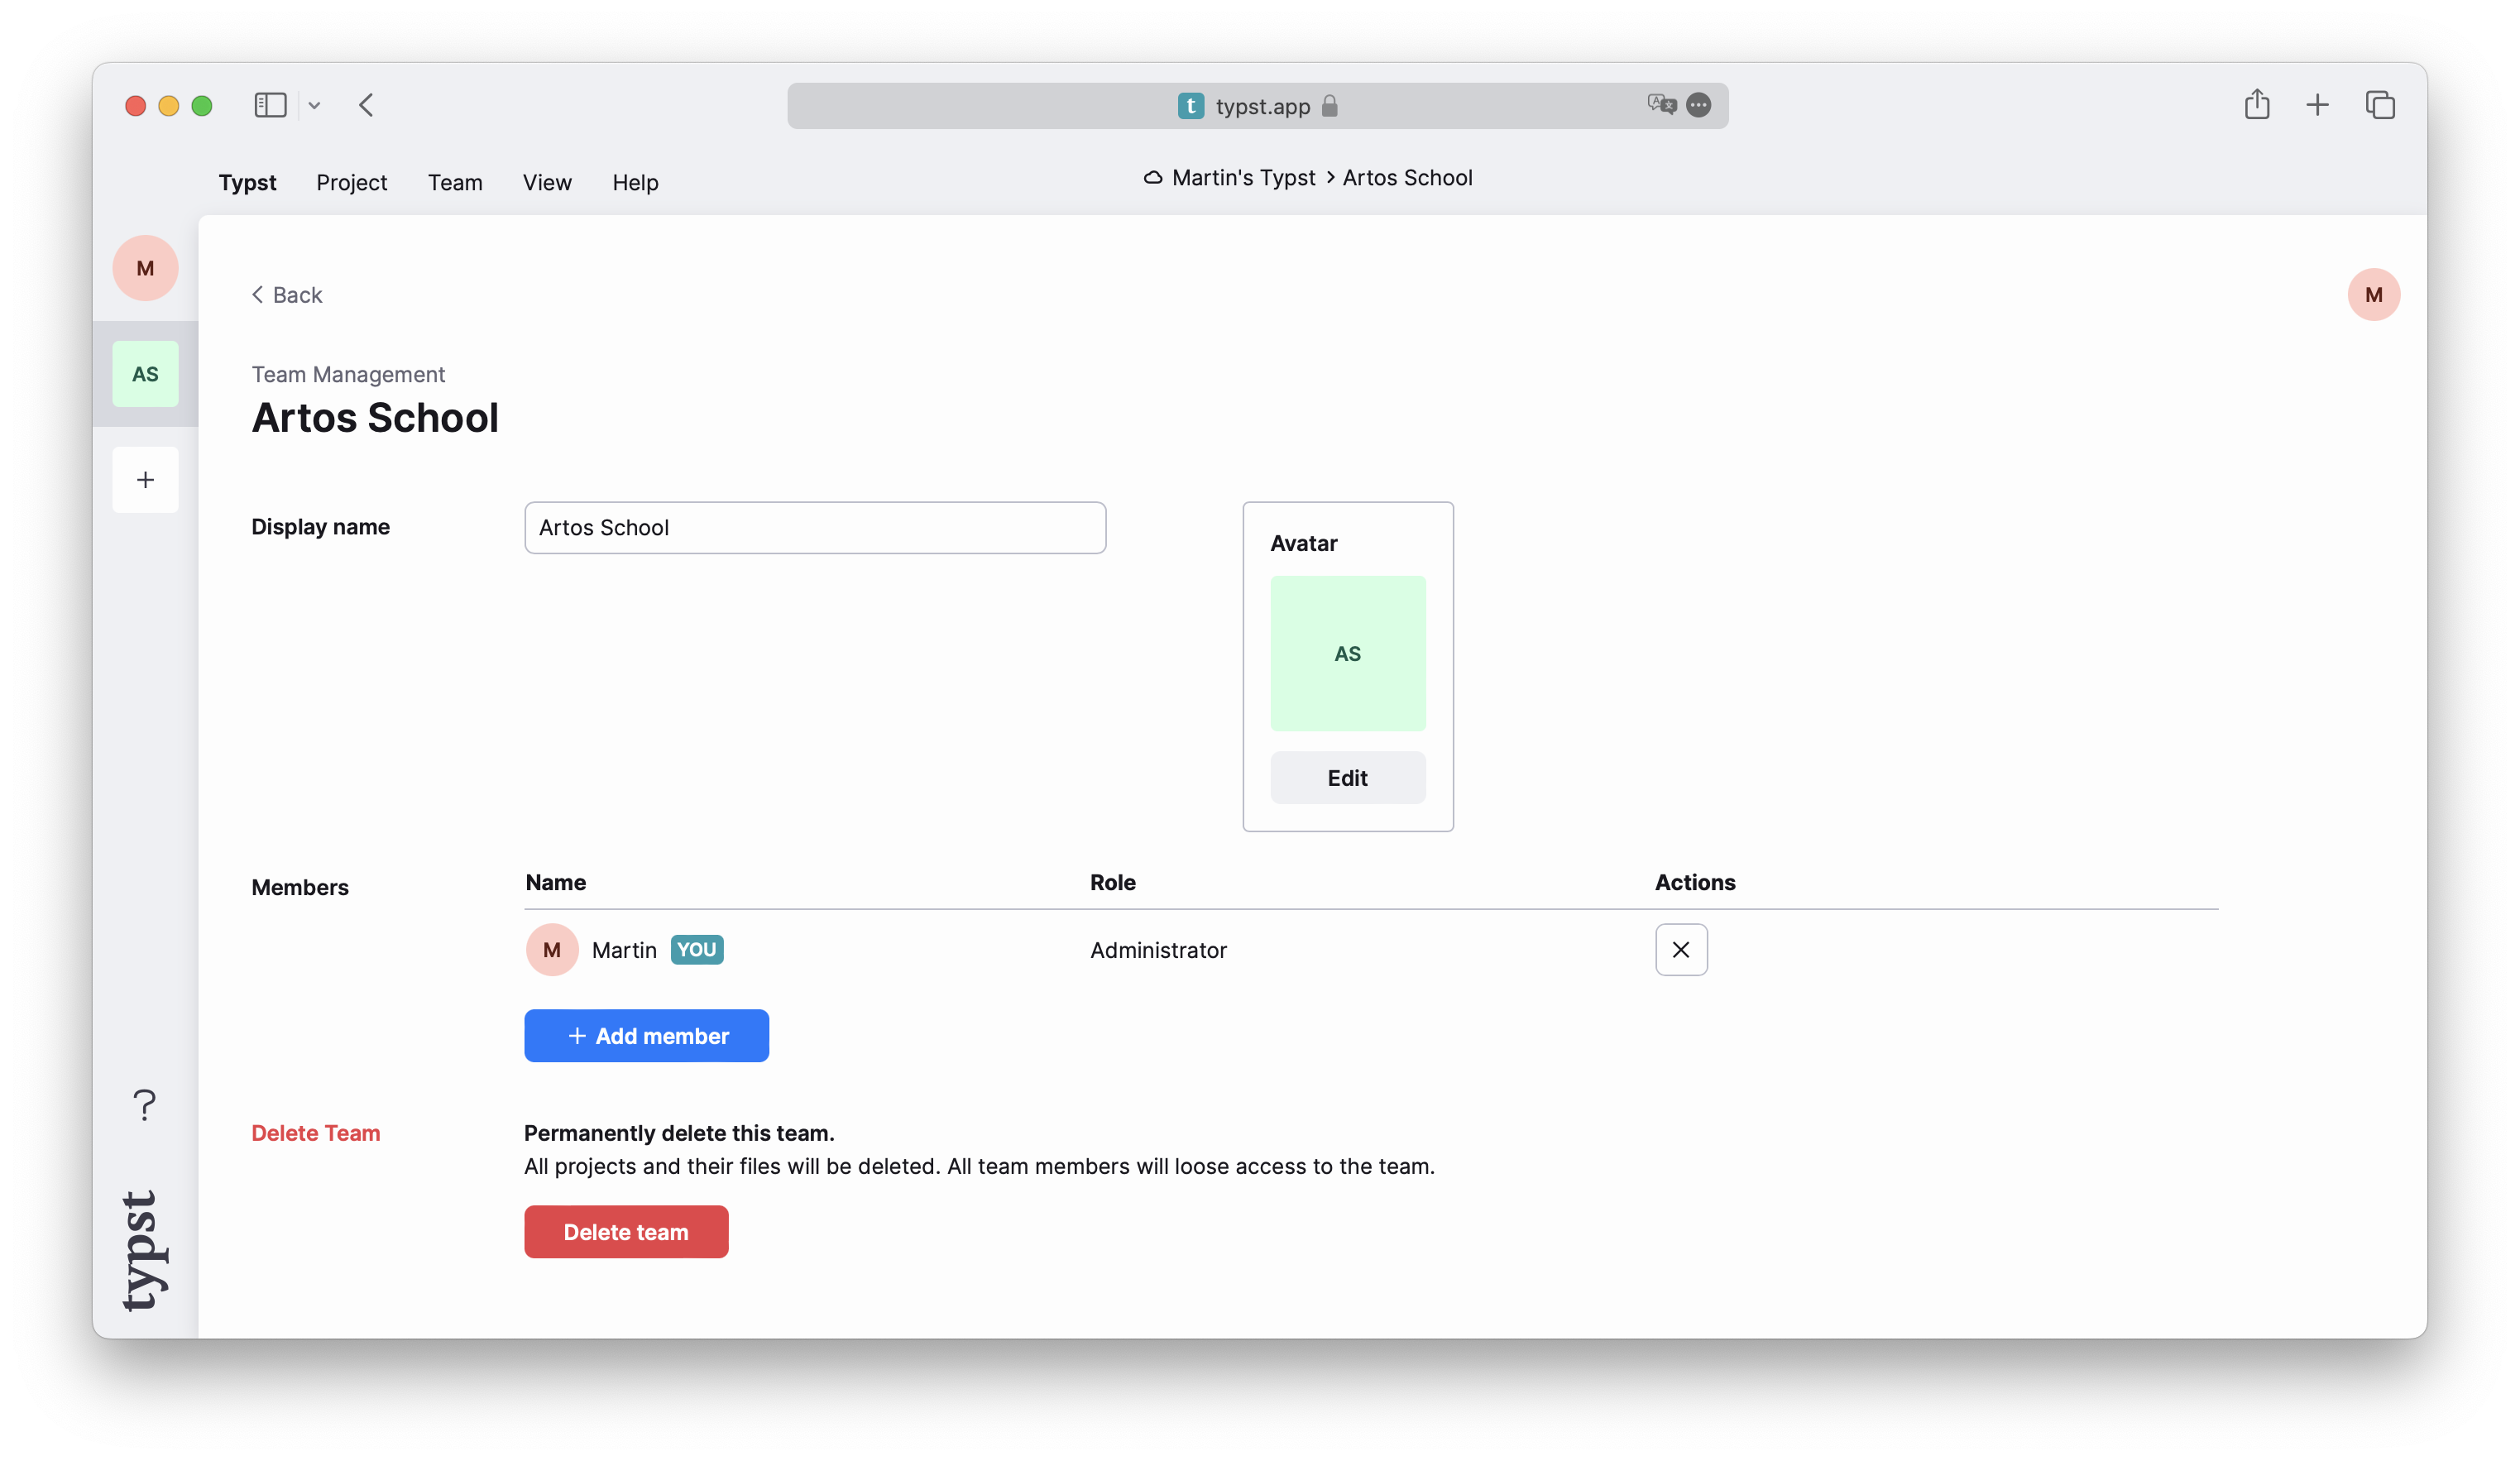
Next, move your project into the team: Open it, going to its settings by choosing the gear icon in the left toolbar and selecting your new team from the owners dropdown. Don't forget to save your changes!
Now, your supervisor can also edit the project and you can both see the changes in real time. You can join our Discord server to find other users and try teams with them!
The conference guidelines
The layout guidelines are available on the conference website. Let's take a look at them:
- The font should be an 11pt serif font
- The title should be in 17pt and bold
- The paper contains a single-column abstract and two-column main text
- The abstract should be centered
- The main text should be justified
- First level section headings should be 13pt, centered, and rendered in small capitals
- Second level headings are run-ins, italicized and have the same size as the body text
- Finally, the pages should be US letter sized, numbered in the center of the footer and the top right corner of each page should contain the title of the paper
We already know how to do many of these things, but for some of them, we'll need to learn some new tricks.
Writing the right set rules
Let's start by writing some set rules for the document.
#set page(
  paper: "us-letter",
  header: align(right)[
    A Fluid Dynamic Model for
    Glacier Flow
  ],
  numbering: "1",
)
#set par(justify: true)
#set text(
  font: "Libertinus Serif",
  size: 11pt,
)

#lorem(600)
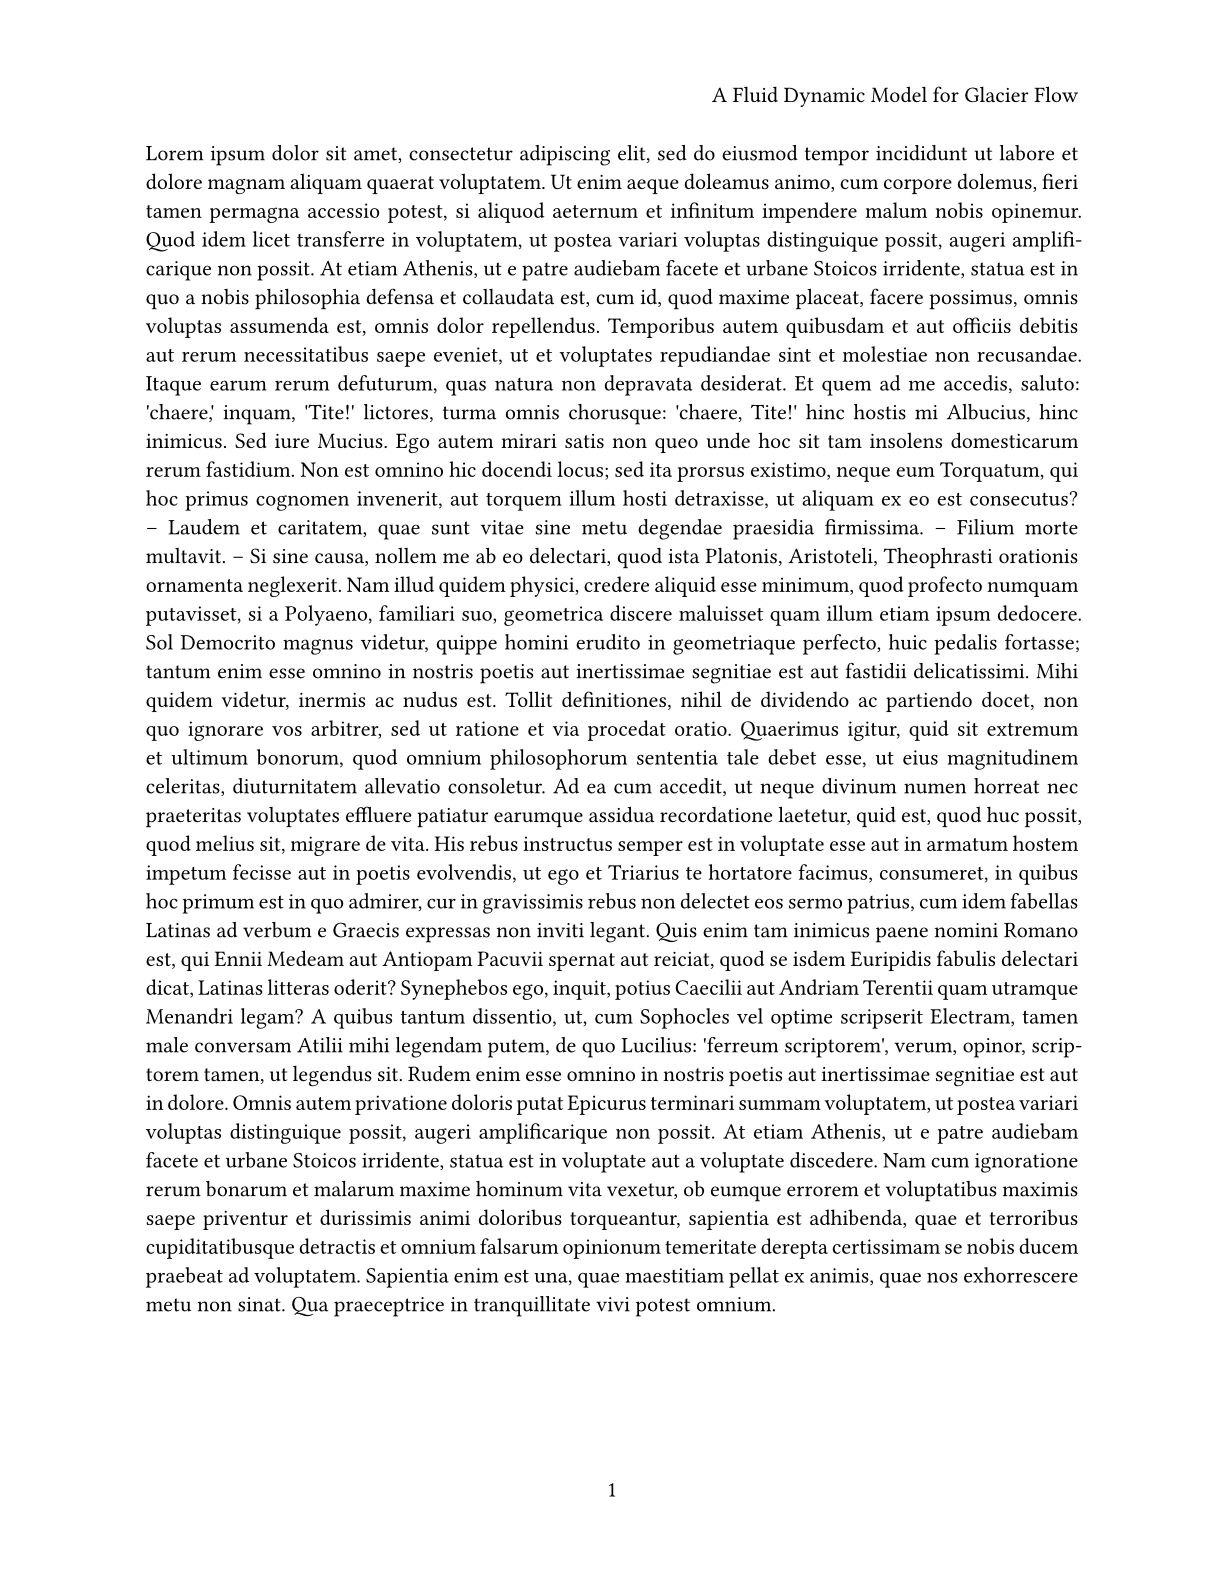
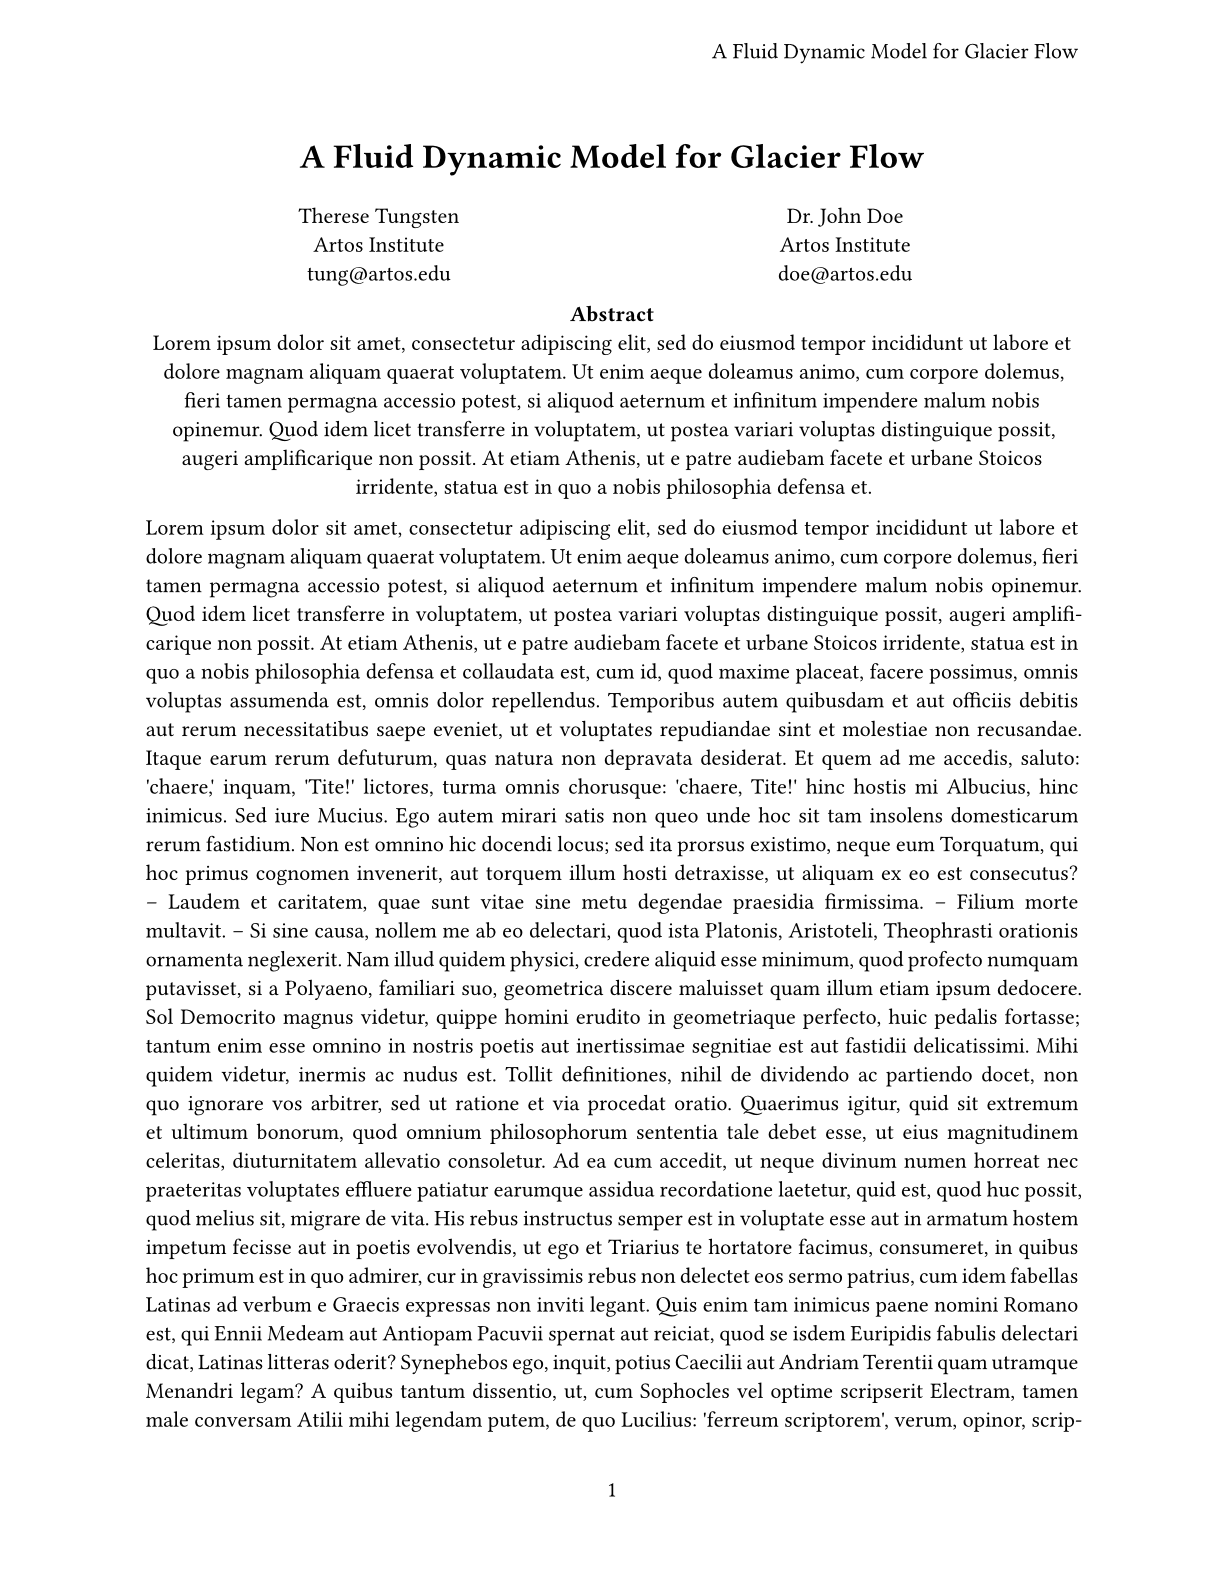
You are already familiar with most of what is going on here. We set the text
size to 11pt and the font to Libertinus Serif. We also enable paragraph
justification and set the page size to US letter.
The header argument is new: With it, we can provide content to fill the top
margin of every page. In the header, we specify our paper's title as requested
by the conference style guide. We use the align function to align the text to
the right.
Last but not least is the numbering argument. Here, we can provide a
numbering pattern that defines how to number the pages. By
setting it to "1", Typst only displays the bare page number. Setting it to
"(1/1)" would have displayed the current page and total number of pages
surrounded by parentheses. And we could even have provided a completely custom
function here to format things to our liking.
Creating a title and abstract
Now, let's add a title and an abstract. We'll start with the title. Typst comes
with a title function. Let's start by providing our title as an argument:
#title[
  A Fluid Dynamic Model
  for Glacier Flow
]

You can see that the title is already boldfaced and has some space around it.
However, it is left-aligned and not exactly 17pt large. Hence, we need to adjust
its appearance. The title function does not come with any arguments for
font or text size we could set. Instead, these properties are defined on the
text and align functions.
What is the difference between what the title function inserted and the
headings we produced with equals signs?
Headings, even first-level headings, can appear multiple times in your document whereas a title only appears once, usually at the beginning. Differentiating between the two helps Typst make your document accessible for users of Assistive Technology such as screen readers.
When we want to customize the properties of some element inside of another kind
of element, we can use show-set rules. First, we use show to select which
element we want to customize. We call this a selector. Then, we type a colon.
Next, we write the set rule that should apply to elements matching the selector.
Summarized, the syntax looks like this:
#show your-selector: set some-element(/* ... */)
Let's recall: We want to center-align the title and make it 17pt large. Hence, we need two show-set rules:
- One with the selector
titleand the ruleset text(size: 17pt) - One with the selector
titleand the ruleset align(center)
Our example now looks like this:
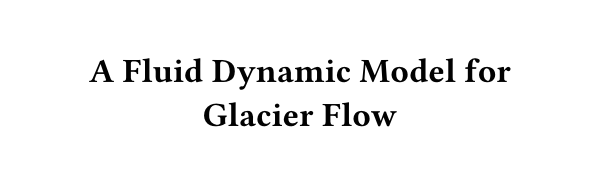
#show title: set text(size: 17pt)
#show title: set align(center)

#title[
  A Fluid Dynamic Model
  for Glacier Flow
]
This looks right. Let's also add the author list: Since we are writing this paper together with our supervisor, we'll add our own and their name.
#grid(
  columns: (1fr, 1fr),
  align(center)[
    Therese Tungsten \
    Artos Institute \
    #link("mailto:tung@artos.edu")
  ],
  align(center)[
    Dr. John Doe \
    Artos Institute \
    #link("mailto:doe@artos.edu")
  ]
)

The two author blocks are laid out next to each other. We use the grid
function to create this layout. With a grid, we can control exactly how large
each column is and which content goes into which cell. The columns argument
takes an array of relative lengths or fractions. In
this case, we passed it two equal fractional sizes, telling it to split the
available space into two equal columns. We then passed two content arguments to
the grid function. The first with our own details, and the second with our
supervisors'. We again use the align function to center the content within the
column. The grid takes an arbitrary number of content arguments specifying the
cells. Rows are added automatically, but they can also be manually sized with
the rows argument.
Looking at the authors and the title, they are a bit too close together. You can
address this by using another show-set rule to configure the space below the
title. The title, the grid, paragraphs, and all other elements that Typst
arranges from the top to the bottom of the page are called blocks. Each block
is controlled by the block function. It controls behaviors like their
distance and whether a block can contain a page break. That means that we can
write another show-set rule that selects the title to set the block spacing:
#show title: set text(size: 17pt)
#show title: set align(center)
#show title: set block(below: 1.2em)

#title[
  A Fluid Dynamic Model
  for Glacier Flow
]

#grid(
  // ...
)

With this show-set rule, we overrode the spacing below the title. We have used
the em unit: It allows us to express lengths as multiples of the font size.
Here, we used it to space the title and the author list exactly 1.2× the font
size apart. Now, let's add the abstract. Remember that the conference wants the
abstract to be set ragged and centered.
...

#align(center)[
  #set par(justify: false)
  *Abstract* \
  #lorem(80)
]
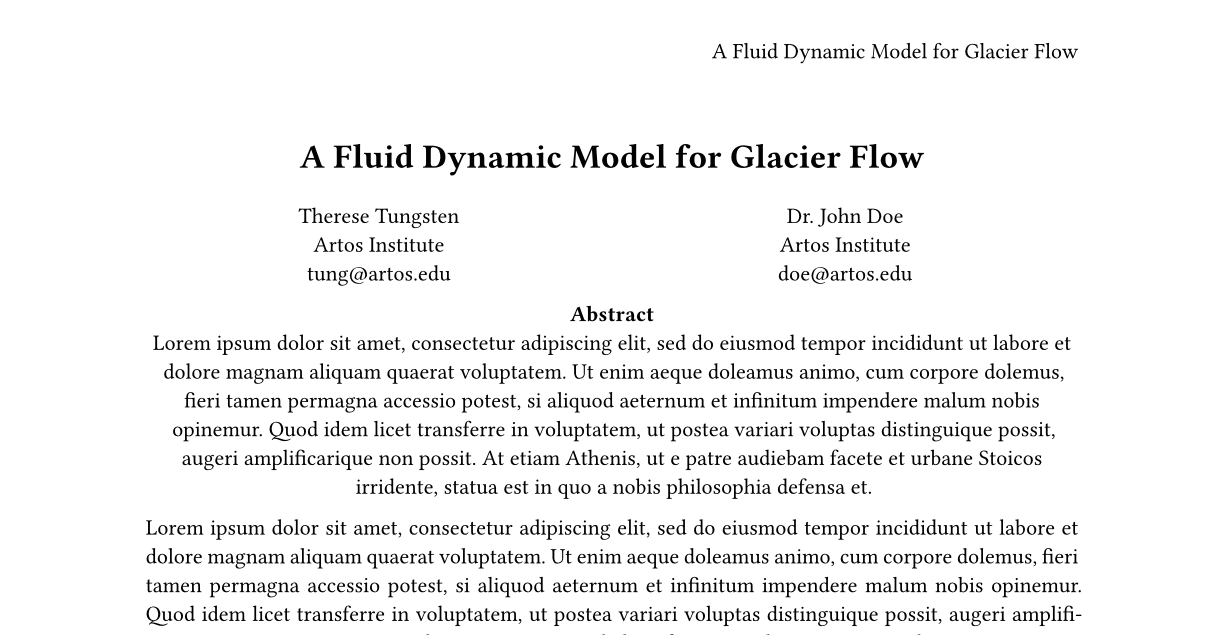
Well done! One notable thing is that we used a set rule within the content
argument of align to turn off justification for the abstract. This does not
affect the remainder of the document even though it was specified after the
first set rule because content blocks scope styling. Anything set within a
content block will only affect the content within that block.
Another tweak could be to remove the duplication between the header and the
title element's argument. Since they share the title, it would be convenient to
store it in a place designed to hold metadata about the document. We would then
need a way to retrieve the title in both places. The document element can help
us with the former: By using it in a set rule, we can store document metadata
like title, description, and keywords.
#set document(title: [A Fluid Dynamic Model for Glacier Flow])
When exporting a PDF, the title set here will appear in the title bar of your PDF reader. Your operating system will also use this title to make the file retrievable with search. Last but not least, it contributes to making your document more accessible and is required if you choose to comply with PDF/UA, a PDF standard focused on accessibility.
Now, we need a way to retrieve the value we set in the main title and the
header. Because the title function is designed to work together with the
document element, calling it with no arguments will just print the title. For
the header, we will need to be more explicit: Because Typst has no way of
knowing that we want to insert the title there, we will need to tell it to do so
manually.
Using context, we can retrieve the contents of any values we have set on
elements before. When we use the context keyword, we can access any property
of any element, including the document element's title property. Its use looks
like this:
#set document(title: [
  A Fluid Dynamic Model
  for Glacier Flow
])

...

#set page(
  header: align(
    right + horizon,
    // Retrieve the document
    // element's title property.
    context document.title,
  ),
  ...
)

#title()

...
First, notice how we called the title function with empty, round parentheses. Because no argument was passed, it defaulted to what we set for the document element above. The distinction between empty round and empty square brackets is important: While empty round brackets show that you are passing nothing, empty square brackets mean that you are passing one argument: an empty content block. If called that way, the title would have no visible content.
Next, take a look at the header. Instead of the title in square parentheses, we used the context keyword to access the document title. This inserted exactly what we set above. The role of context is not limited to accessing properties: With it, you can check if some elements are present in the document, measure the physical dimensions of others, and more. Using context, you can build powerful templates that react to the preferences of the end-user.
Why is the context keyword required to access element properties?
Normally, when we access a variable, we know exactly what its value is going to be:
- The variable could be a constant built into Typst, like
#sym.pi - The variable could be defined by an argument
- The variable could be defined or overwritten in the current scope
However, sometimes, that's not enough. In this chapter of the tutorial, we have inserted a page header with the title. Even though we pass only one piece of content for the header, we may want different pages to have different headers. For example, we may want to print the chapter name or use the page number. When we use context, we can write a single context block that tells Typst to take a look at where it's inserted, look for the last heading, the current page number, or anything else, and go from there. That means that the same context block, inserted on different pages, can produce different output.
For more information, read up on context in its docs after completing this tutorial.
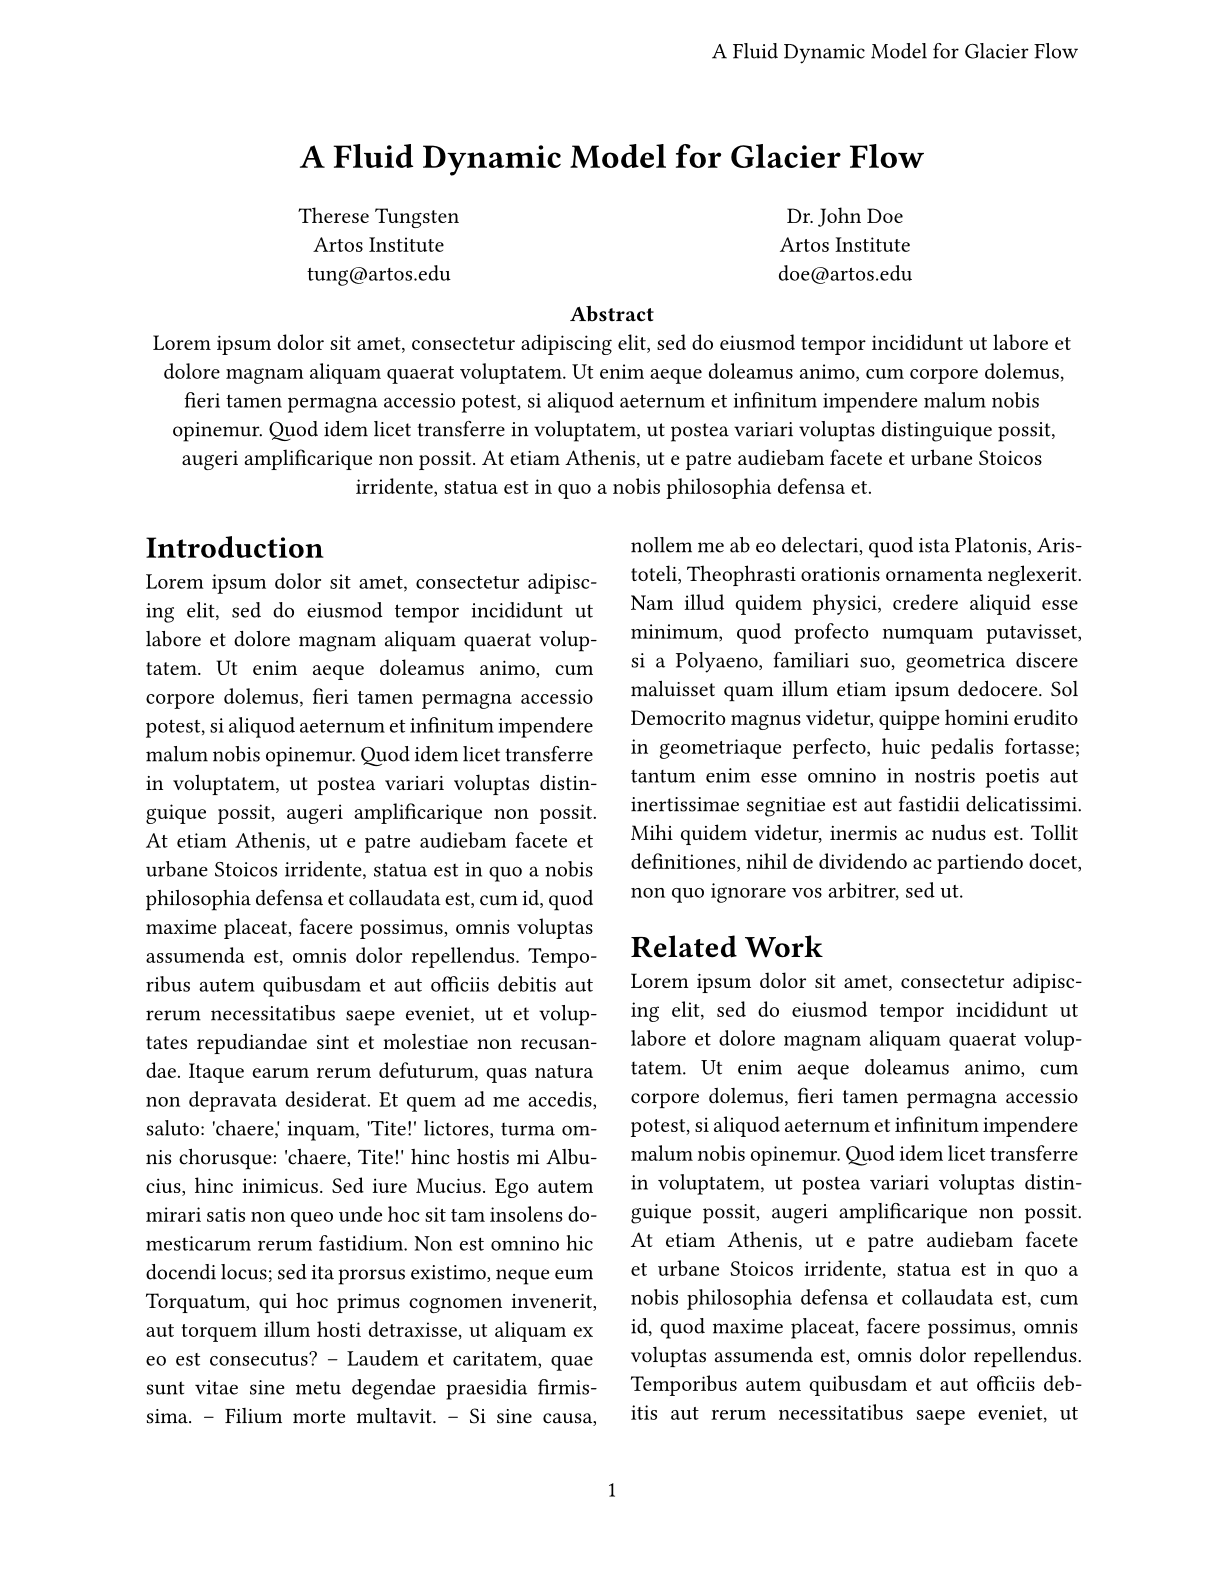
Adding columns and headings
The paper above unfortunately looks like a wall of lead. To fix that, let's add
some headings and switch our paper to a two-column layout. Fortunately, that's
easy to do: We just need to amend our page set rule with the columns
argument.
By adding columns: 2 to the argument list, we have wrapped the whole
document in two columns. However, that would also affect the title and authors
overview. To keep them spanning the whole page, we can wrap them in a function
call to place. Place expects an alignment and the content it
should place as positional arguments. Using the named scope argument, we can
decide if the items should be placed relative to the current column or its
parent (the page). There is one more thing to configure: If no other arguments
are provided, place takes its content out of the flow of the document and
positions it over the other content without affecting the layout of other
content in its container:
#place(
  top + center,
  rect(fill: black),
)
#lorem(30)
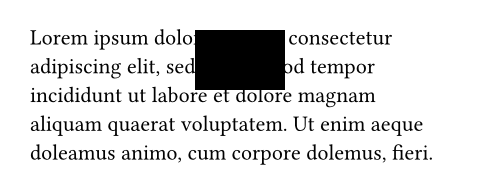
If we hadn't used place here, the square would be in its own line, but here
it overlaps the few lines of text following it. Likewise, that text acts as if
there was no square. To change this behavior, we can pass the argument
float: true to ensure that the space taken up by the placed item at the top
or bottom of the page is not occupied by any other content.
#set page(
  paper: "us-letter",
  header: align(
    right + horizon,
    context document.title,
  ),
  numbering: "1",
  columns: 2,
)

#place(
  top + center,
  float: true,
  scope: "parent",
  clearance: 2em,
)[
  ...

  #par(justify: false)[
    *Abstract* \
    #lorem(80)
  ]
]

= Introduction
#lorem(300)

= Related Work
#lorem(200)
In this example, we also used the clearance argument of the place function
to provide the space between it and the body instead of using the v
function. We can also remove the explicit align(center, ..) calls around the
various parts since they inherit the center alignment from the placement.
Now there is only one thing left to do: Style our headings. We need to make them
centered and use small capitals. These properties are not available on the
heading function, so we will need to write a few show-set rules and a show
rule:
- A show-set rule to make headings center-aligned
- A show-set rule to make headings 13pt large and use the regular weight
- A show rule to wrap the headings in a call to the
smallcapsfunction
#show heading: set align(center)
#show heading: set text(
size: 13pt,
weight: "regular",
)
#show heading: smallcaps
...
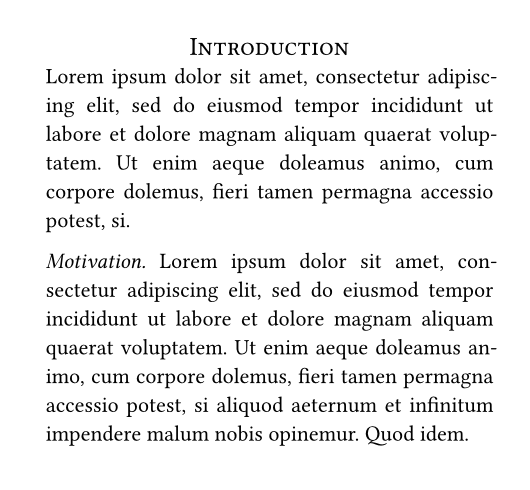
= Introduction
...
== Motivation
...
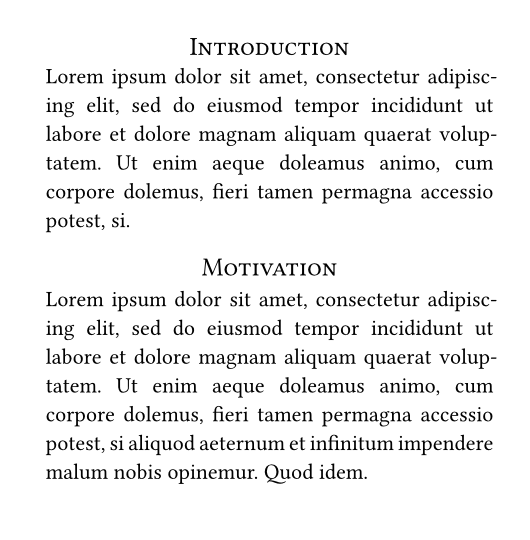
This looks great! We used show rules that apply to all headings. In the final
show rule, we applied the smallcaps function to the complete heading. As we
will see in the next example, we can also provide a custom rule to completely
override the default look of headings.
The only remaining problem is that all headings look the same now. The
"Motivation" and "Problem Statement" subsections ought to be italic run-in
headers, but right now, they look indistinguishable from the section headings.
We can fix that by using a where selector on our show rule: This is a
method we can call on headings (and other elements) that
allows us to filter them by their properties. We can use it to differentiate
between section and subsection headings:
#show heading.where(level: 1): set align(center)
#show heading.where(level: 1): set text(size: 13pt, weight: "regular")
#show heading.where(level: 1): smallcaps

#show heading.where(level: 2): set text(
  size: 11pt,
  weight: "regular",
  style: "italic",
)
#show heading.where(level: 2): it => {
  it.body + [.]
}
In this example, we first scope our previous rules to first-level headings by
using .where(level: 1) to make the selector more specific. Then, we add a
show-set rule for the second heading level. Finally, we need a show rule with a
custom function: Headings enclose their contents with a block by default. This
has the effect that the heading gets its own line. However, we want it to run
into the text, so we need to provide our own show rule to get rid of this block.
We provide the rule with a function that takes the heading as a parameter.
This parameter is conventionally called it, but can have another name. The
parameter can be used as content and will just display the whole default
heading. Alternatively, when we want to build our own heading instead, we can
use its fields like body, numbering, and level to compose a custom look.
Here, we are just printing the body of the heading with a trailing dot and leave
out the block that the built-in show rule produces. Note that this heading will
no longer react to set rules for heading numbering and similar because we did
not explicitly use it.numbering in the show rule. If you are writing show
rules like this and want the document to remain customizable, you will need to
take these fields into account.
This looks great! We wrote show rules that selectively apply to the first and
second level headings. We used a where selector to filter the headings by
their level. We then rendered the subsection headings as run-ins. We
also automatically add a period to the end of the subsection headings.
Let's review the conference's style guide:
- The font should be an 11pt serif font ✓
- The title should be in 17pt and bold ✓
- The paper contains a single-column abstract and two-column main text ✓
- The abstract should be centered ✓
- The main text should be justified ✓
- First level section headings should be centered, rendered in small caps and in 13pt ✓
- Second level headings are run-ins, italicized and have the same size as the body text ✓
- Finally, the pages should be US letter sized, numbered in the center and the top right corner of each page should contain the title of the paper ✓
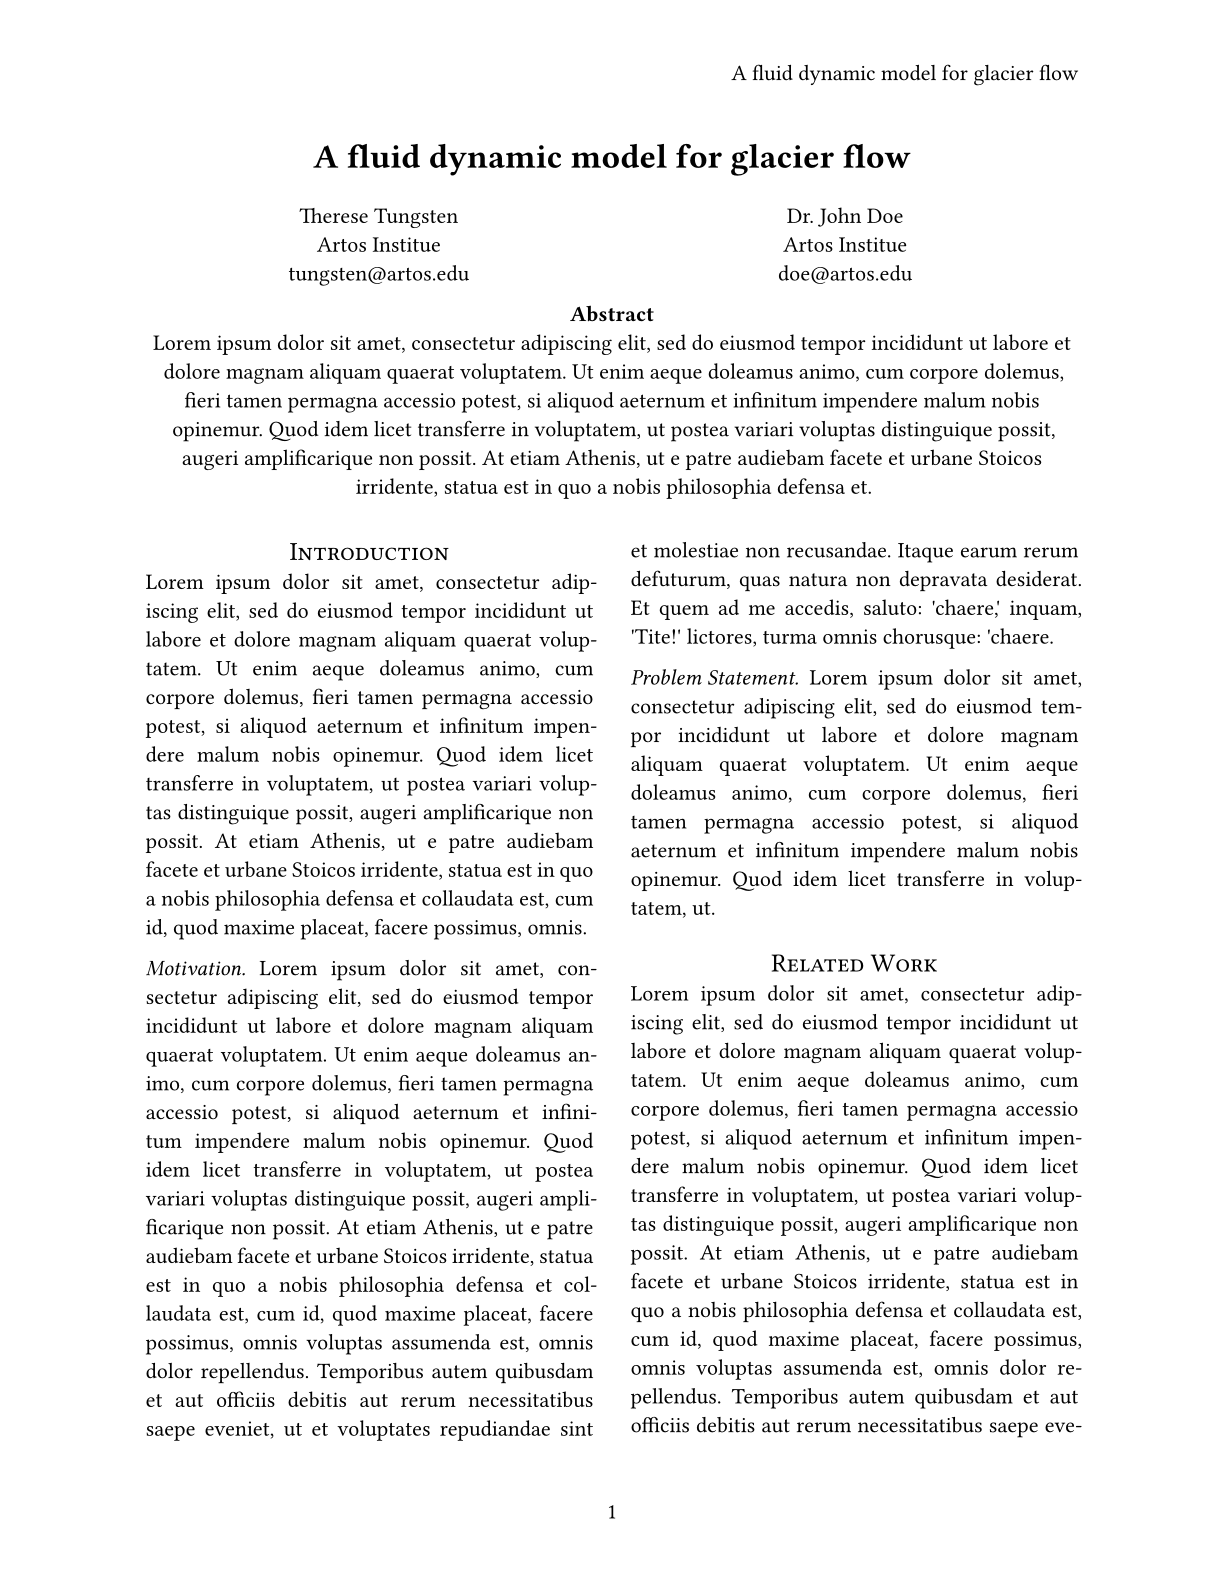
We are now in compliance with all of these styles and can submit the paper to the conference! The finished paper looks like this:
Review
You have now learned how to create titles, headers, and footers, how to use
functions, show-set rules, and scopes to locally override styles, how to create
more complex layouts with the grid function, how to access element
properties with context, and how to write show rules for individual functions,
and the whole document. You also learned how to use the where
selector to filter the headings by their level.
The paper was a great success! You've met a lot of like-minded researchers at the conference and are planning a project which you hope to publish at the same venue next year. You'll need to write a new paper using the same style guide though, so maybe now you want to create a time-saving template for you and your team?
In the next section, we will learn how to create templates that can be reused in multiple documents. This is a more advanced topic, so feel free to come back to it later if you don't feel up to it right now.